TL;DR – Is mould in a mushroom kit a problem?
- Small, contained patches of green mould are often manageable
- If the mushroom mycelium is strong, it can usually out-compete mould
- Early outbreaks (first 1–2 weeks) are the main risk
- Black, pink, purple, or fast-spreading mould = discard the kit
- Mushrooms are usually safe to eat if the mould stays inside the bag
This article is mainly written for people who have purchased one of our kits, but the advice will apply to any mushroom kit.
Mould is potentially the biggest threat to the mushroom grow kit. If it does rear its head, there are some things you can do to slow it down and possibly beat it.
Mould is one of the most opportunist and pervasive lifeforms on the planet. It’s even a problem on the International Space Station! Unfortunately, the same ideal conditions for growing mushrooms are also the ideal conditions for mould. They are both fungi.
However, many mushrooms like Shiitake & Oyster mushrooms have had millions of years perfecting the art of dealing with it. So, once the mushrooms’ mycelium has grown sufficiently, it will make it difficult for mould to grow. The danger period is usually in the first week after a mushroom kit has been made and the mushroom has had a chance to establish itself.
If you find mould growing in your mushroom bag, spores were most likely present when the bag was made. The mould would most likely affect all kits made from that batch. It’s unlikely that the mould was able to establish itself after manufacture.
👉 Learn about our oyster mushroom grow kits
What to look for
- The most common mould you will encounter is the green variety, so you would usually see a patch of green rather than the white of the mushroom mycelium. There are varieties of mould that are white, but generally, any white you see growing will be the mushroom.
- If the mycelium of the mushrooms is strong, it will usually encircle (quarantine) the mould into a small space.
- Look for a brown liquid (it may just appear as dots) around the edges. This liquid, often referred to as metabolites contains properties (a natural antifungal compound produced by mushroom mycelium) that will kill and digest the mould. They are part of the mushroom’s immune system. Interestingly these same properties are bio-available to our bodies, so form the basis of the mushroom’s legendary health benefits.
- All going well you should notice the green become less vibrant, fade to a more yellow colour and slowly be replaced by the white of the mushroom’s mycelium.
What to do if you see an outbreak
In the unlikely event you get an outbreak, here are some tips:
- Put some tape over any holes directly over the outbreak. This will deny it oxygen and contain its spores inside the bag.
- Use a marker pen to put an outline of the outbreak. This will more easily indicate if it’s growing or receding.
- Move it to a different location. The current one may be too warm or too cold, favouring the mould rather than mushroom growth.
- Putting the kit outside, with the mould facing the sun (exposing it to UV) will help. The mushroom mycelium should tolerate this without too much damage.
👉 See the article: best locations to grow oyster mushrooms
Should I treat the mould directly by cutting it out or using a fungicide?
Usually, what you are seeing is only half of the picture. A bit like an iceberg most of the mould is growing alongside the mushroom’s mycelium deep inside the bag. There is little point in trying to treat it directly by cutting it out or dabbing it with bleach or hydrogen peroxide. Most likely you will encourage its spread and potentially weaken the mushroom’s own defensive mechanisms in dealing with it. The best you can do is move it into conditions that favour the mushroom’s growth.
Are the mushrooms still edible?
If mushrooms are growing, and the mold is contained within the bag – it will not usually affect the fruit bodies (the mushrooms themselves), so they should still be okay. The mould is not able to penetrate the mushrooms in the same way as it would a loaf of bread. However, cobweb mould grows on the surface, and can cover the fruit bodies with a fluffy white coating. This causes the mushrooms to rot quickly. If you suspect cobweb mold, discard the grow kit if you see this.
However, if you are immunocompromised, pregnant, or highly sensitive to mould, we recommend discarding any kit showing visible contamination.
Disposing of a completely contaminated bag
If it gets to the point of needing to dispose of the kit, we recommend composting it or laying it as mulch in the garden. Just take care when opening the bag not to inhale any spores that may be present. Composting spent grow kits is one of the easiest ways to return nutrients to the soil.
Quick info on moulds
Green moulds
The most common green variety that you may encounter is Trichoderma but could be from other varieties like Penicillium, Cladosporium or Aspergillus. These are generally easy to spot and perform remedial action. These moulds are fairly common in peoples homes, hiding in bread bins and other damp warm spaces but could also be growing on carpets, furniture, clothing, wallpaper or wood.
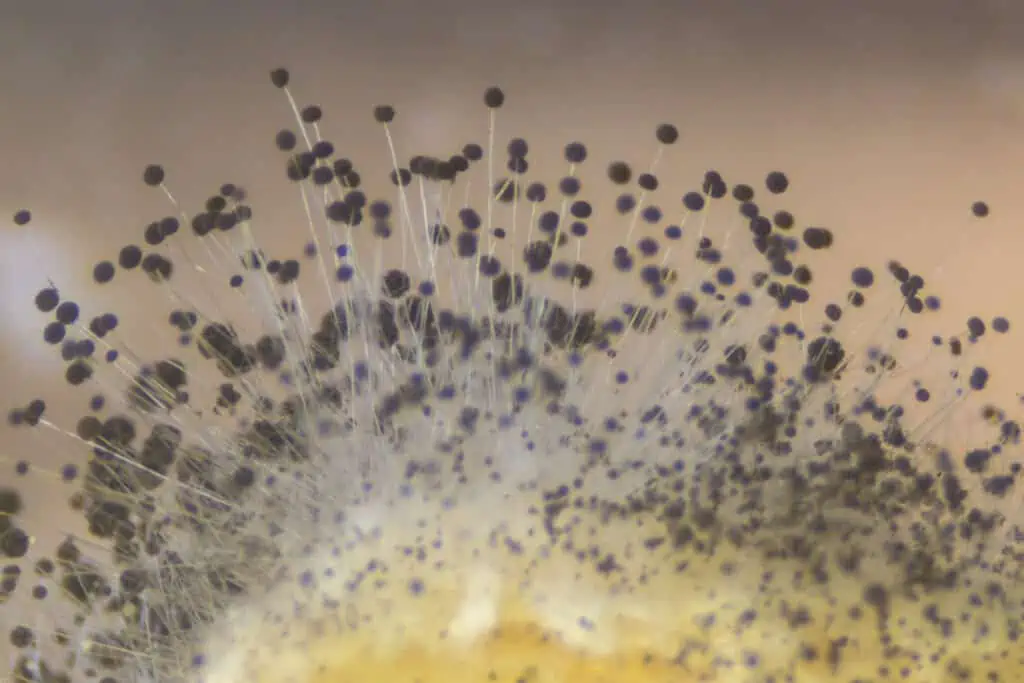
Black Moulds
When it’s too hot, sometimes the black ‘pinhead’ mould (Rhizopus stolonifer) may present itself. This is a common mould in people’s homes and is often seen on stale bread or in warm damp spaces like bathrooms. It is also a mould that can pose a health concern, mainly to people with compromised immune systems.
In our experience, both Oyster and Shiitake mushrooms will usually combat this type of mould if you move the kit into a cooler location.
White moulds
White moulds are generally less of a problem, but difficult to identify as they look similar to the mushrooms mycelium. Examples of white mould include Koji (Aspergillus oryzae) which is used in food production, or Cobweb mould (Hypomyces rosellus).
Cobweb mould grows very quickly. It not only competes with the mushrooms for nutrients, it also feeds on the mushrooms themselves. This type of mould starts as white, with a fairly thin covering (it mainly stays on the surface) but turns grey after a few days.
Brightly coloured or Pink & Purple moulds
There are some more exotic moulds that appear in hues of many colours (like the Purple mould Tuberculina Maxima). However, many of the moulds mentioned above can also appear in different colours based on conditions or the stage the mould is in, so may appear or change to Pink, Orange or just about any colour. If you see this happening it’s probably best to discard the kit as it’s likely beyond rescue.
For people who have purchased from us
If it looks like it’s spreading or the outbreak happens in the first 2 weeks – contact us on the live chat and attach a photo of the mould plus one of the batch numbers on the bag.
For every batch we make, with about 15 mini-farms per batch, we also make a small control bag kept in the lab. This way we can monitor what’s been sent out. This allows us to know if there are any problems with the batch – as the entire batch would be affected. We also use the control bag to compare against other stages, like the time it takes to pin etc.
👉 Get mushroom growing support
Mushroom growth stages and potential for an outbreak
- Week 1: The danger zone is in the first week. If you see mould at this stage please contact us. If it’s an outbreak that we are responsible for, we will replace the bag.
- Week 2: Generally the mycelium will have grown sufficiently to take care of any mould that may be present. However, if the grow kit is not in an ideal location (it is stressed) it may be weakened, and a small patch may present. In this case, the tips above should contain it until the mycelium has developed enough strength to deal with it.
- Week 3: It should be well and truly out of the danger zone, and getting ready to fruit. Mould at this stage is rare, so a sign now would indicate that it’s in a bad location and highly stressed.
- After soaking: Be careful when rehydrating the bag. If it’s soaked too long (more than 8 hours) or over-hydrated you may damage the mycelium and mould may take the opportunity to grow.
👉 Live in NZ and interest in growing oyster mushrooms? we have many to choose from
Further reading
If you’re interested to learn more, who isn’t? Here are some links
- What are Molds, Fungi, Mushrooms and Yeasts? https://www.bioidea.net/resources/what-are-molds-fungi-mushrooms-and-yeasts/
- Fungi and Mold, the Great Decomposers https://www.permaculturenews.org/2016/02/11/fungi/
- Difference between Mold and Fungus: http://www.differencebetween.net/science/difference-between-mold-and-fungus/